I’ve been on my own the past couple of weeks, back in Alaska to do a little work for income, and to have a little work done on the house. I’m focused on policies and grants for one clinic, and filling in for the medical staff coordinator at the local hospital. The variety keeps me on my toes, keeps me learning and productive.
On the home front, the house and deck were power washed and some of the paint was refreshed. With a house that’s almost 100 years old, there’s always some project in the works. The replacement glass for my cracked front window has arrived and I almost had that replaced yesterday. But no, the weather didn’t cooperate. We had a gale of a storm and had to postpone until June. My hedges and trees are all trimmed up, and I have a new lock on my fuel oil tank. So I’ve marked off a few of my to-dos.
But it’s not all been work. There’s been cooking too! Or at least some cooking, and some prep for future yumminess.
Last week I bought a king salmon, the first one of the season. Here’s that beauty:
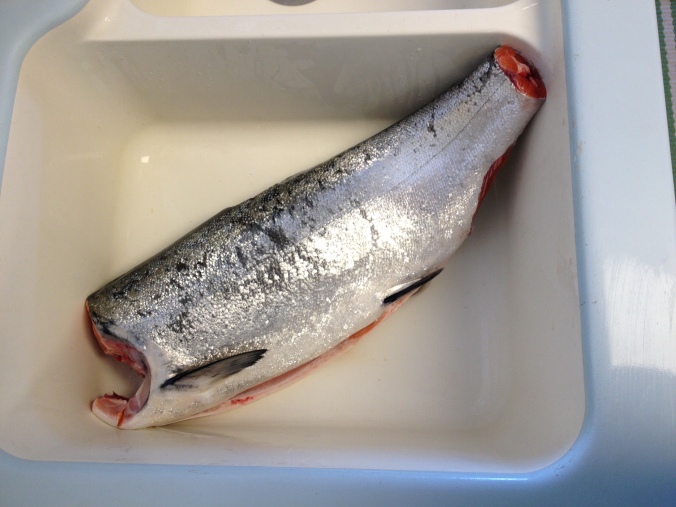
Alaskan King
Thank goodness it came without the head and tail and guts. I don’t need any of those, although I hear I’m really missing out by not making fish head soup. But someone else can enjoy that delicacy. I’ll just content myself with the non-head parts. I’m taking some of the fish I vacuum sealed and froze down to California for a little Memorial Day grilling. See, I know how to get ready to camp. 🙂
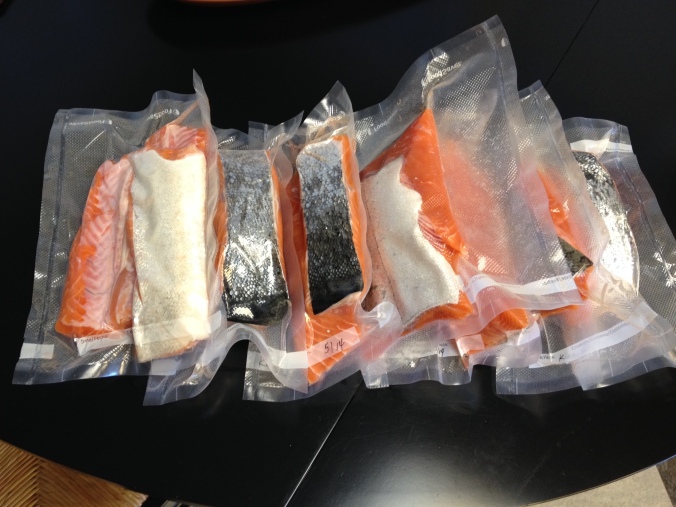
Ready to freeze
I couldn’t resist trying my hand at smoking some of the fresh king. I borrowed a Little Chief smoker and researched a brine recipe. Here’s my finished product:

Smoked to perfection!
The smoked salmon makes a great dip. I can’t give exact amounts, but try blending smoked salmon and a block of cream cheese to a chunky paste in a food processor. Some people add onion or other seasonings, but I like just the salmon and cream cheese. Serve with water crackers or whatever dipper you like. Easy and delicious!
I made a quick pickled salad this week. You could use any firm vegetable. I used diced cucumber, cherry tomatoes (cut in half), diced red onion, and diced baby bell peppers. I made an oil and apple cider vinegar dressing and seasoned it with a little sugar and salt and pepper. Again, no measurements…just mix to taste. (You’ll want enough dressing to coat the veggies, but not so much that they’re swimming in it.) Chill in the fridge to give the veggies time to absorb the flavor of the dressing. It’s a cool and crunchy light lunch or dinner.
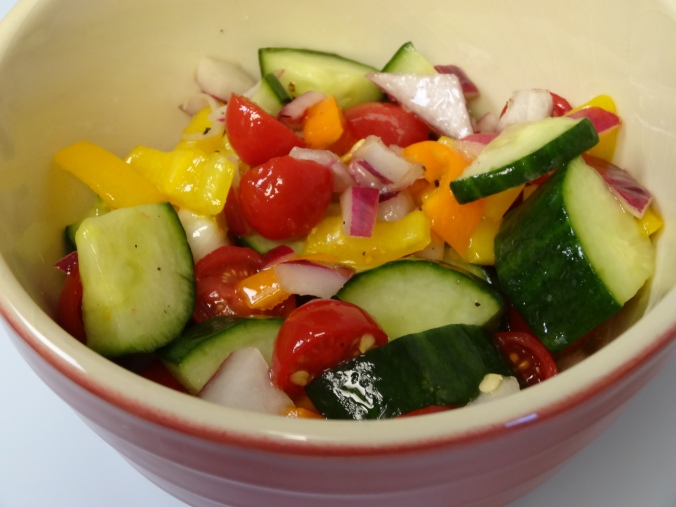
Healthy lunch!
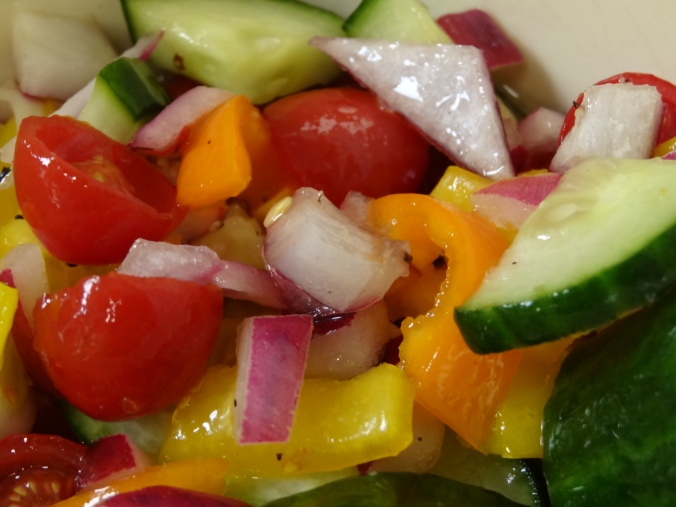
Beautiful and simple
And last but not least, I harvested my rhubarb this week. Rhubarb is a late comer to my life. I discovered it about a decade ago and immediately fell in love with the tartness and the way it pairs so well with other flavors to make amazing desserts.
I started my rhubarb crop here in Ketchikan with one plant a friend gave me. This stuff is hardy. You plant it and forget about it. Two or three times each summer I have enormous leaves and stalks that demand attention. The rhubarb is planted behind the hedge in my front garden, and when I begin to see the leaves poking out above the hedge, I know it’s time to harvest. You can cut the plant down to the ground and it grows right back. Let me just say, here and now, this is my kind of gardening! Seems indestructible, impervious to weather, and I literally do nothing but cut it back a few times a year.
I should have made a photo of the plant, but I wasn’t in blog mode when I was in harvest mode, so you’ll have to google “rhubarb” if you want to see the the full glory. I’ve been told that rhubarb likes cooler climates, which is probably why I first met it in Colorado and renewed my acquaintance here in Alaska. My grandmothers, who grew most fruits and vegetables known to man, didn’t grow rhubarb, so I assume it would not do well in the heat of a Mississippi summer. Which explains why I missed out on this taste for so long.
The edible part of the plant is the stalk, which looks a lot like celery, except it is a deeper green and has shades of red and pink as well. You cut the stalks off and remove the large leaf that grows at the end of the stalk. Then you wash and dice. That’s it! You can use the fresh rhubarb to make all sorts of dishes. I see savory recipes and I’ve even tasted a couple. But I’ll admit, I just use it for desserts and sweets.
You can make rhubarb pie, rhubarb crisp, rhubarb jam. You typically see rhubarb paired with another fruit, and the classic choice is strawberries. Yes, yes, that’s a good flavor. But do yourself a favor. If you can get your hands on rhubarb, pair it with orange. Orange zest, orange marmalade, orange juice. Nothing. like. it.
Here’s my rhubarb journey this week:

From 1 (!) plant!
You cut the long stems off the base of the plant and have these celery-like stalks. They’re even a little stringy like celery. The only thing I do is wash and chop. You’ll have different widths but honestly I can’t detect any difference in texture or flavor once the rhubarb is cooked down, so I use the small tender stalks as well as the monster wide ones.

Chopped!
I used a little for a sweet treat (reward for my two weeks of work!) and popped the rest into freezer bags. It’s the easiest thing to freeze. I just chop and bag. No need to blanch or prep in any other way.
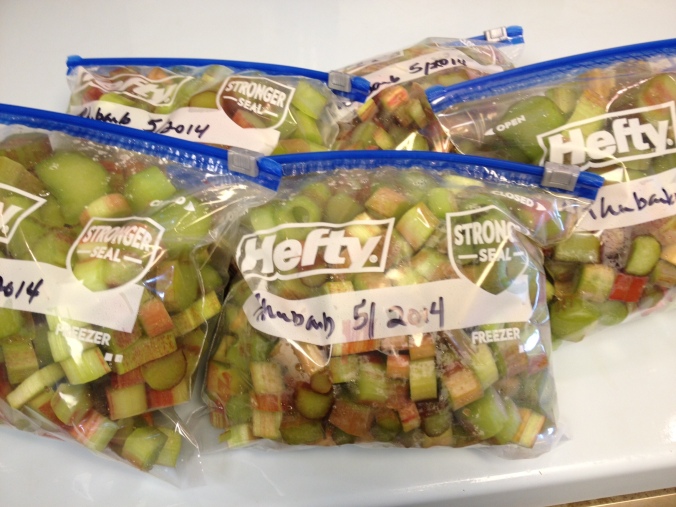
Ready to go
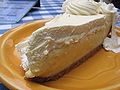
And now, just to whet your appetite!
Dessert for two: (or just me 🙂 )
Butter the bottom of a small baking dish. Spread a layer of chopped rhubarb and lightly sprinkle with brown sugar. I added a couple of teaspoons of orange marmalade, then topped the fruit with a crumb mixture. The crumb mixture is a combination of quick cook oatmeal, brown sugar, a pinch of salt, and a couple of tablespoons of butter. Spread the crumb mixture on top of the fruit and bake at 350, about 25 minutes, or until the crumb topping is lightly browned. Voila! Dessert, or snack, or whatever you need to call it to eat it as soon as it comes out of the oven.
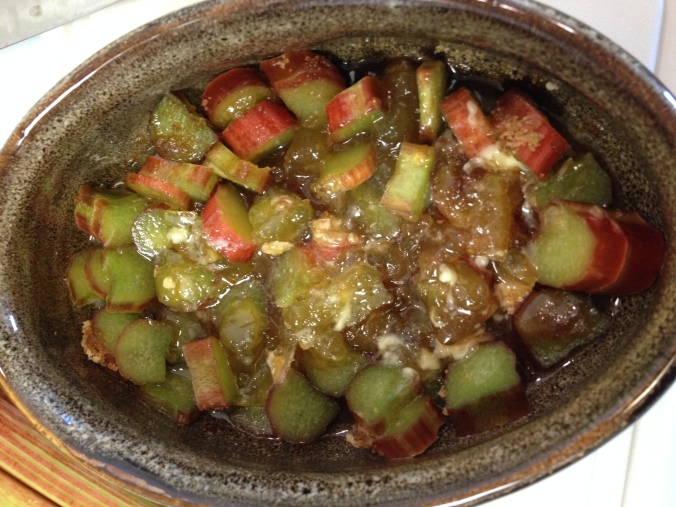
Rhubarb and orange layer
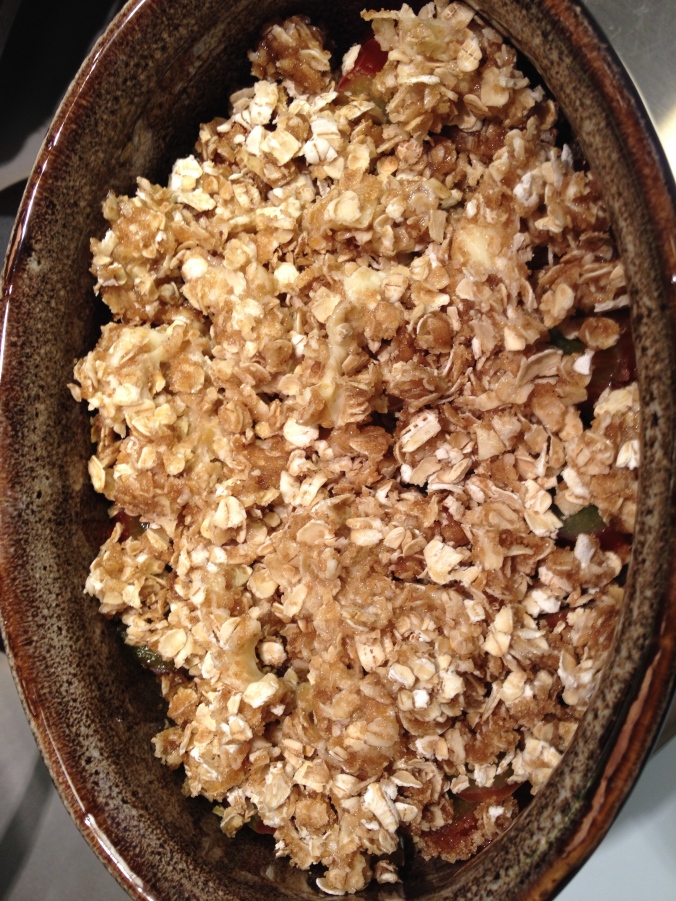
Crumb topping
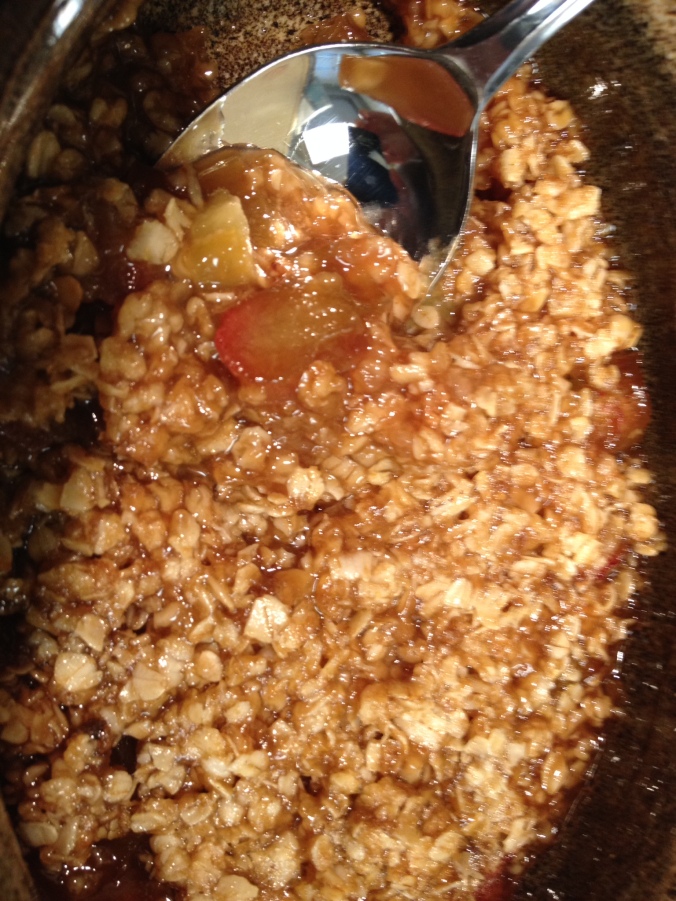
All I need is ice cream!
If you want to mix in other goodness, add nuts or raisins. You can also do this with strawberries or apples instead of the marmalade. I just happen to like the orange, so that’s always my first choice to pair with rhubarb.
Happy start to the summer! And happy Memorial Day! Thank you to all the people who’ve given so much to freedom and our way of life. Remember them while you’re enjoying family and friends this weekend, and find a man or woman wearing the uniform to thank.