So I was scrolling through Pinterest a few days ago…often my reward at the end of the day, or when I have a few minutes to wait in line (though I admit the images on my iPhone screen are not as satisfying as they are on my laptop)…and I saw a pin for making homemade raisins. I had to give it a try as I’d just bought some beautiful red seedless grapes. And what could be better than turing my beautiful grapes into beautiful raisins? (Now don’t say you’ve never seen a beautiful raisin!)
I’ve been known to buy the big raisins…did you know they come in more than one size? (I only discovered that a few years ago.) I love raisins that are plump and juicy…I’ve got no love for the dried up, shriveled versions of this grape-reduction. I adore raisins in all sorts of dishes (try adding them to tuna salad, or a sweet / savory green salad), and I even enjoy eating them without the wrap-around of cookie or cake. There’s something so satisfying about the squish factor! So, as a true raisin fan, this seemed like a pin for me. 🙂
The instructions were simple enough, but I made the process even easier. The first step was a quick blanch, then a plunge into ice water to stop the cooking. This is to soften the grape skins. But this was an optional step, and I decided to skip it. The “recipe” is so basic…honestly I couldn’t believe it never occurred to me to try this before. I suppose that’s the power of pre-packaged food…a lot of things that are very doable at home have an aura of mystery and difficulty about them.
But as it turns out, making raisins at home is so easy, I may never buy a box again. 🙂
And I have to say, mine are better than any I’ve ever bought!
So this is all you do:
Give the grapes a quick rinse, then remove the stems. Place in a baking dish.
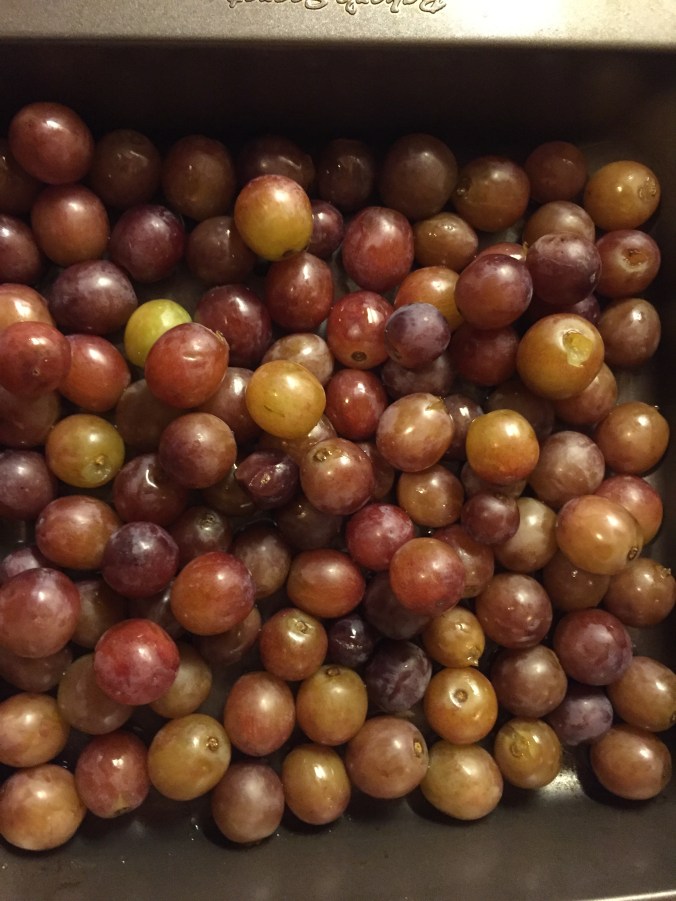
I don’t have a dehydrator handy…hey, I’m living in clinic housing, so my options are pretty basic…but I do have an oven, and that’s actually what the instructions suggested…use an oven, or dry the grapes in the sun…I opted for the oven, since you can’t always count on sunshine in the rainforest of SE Alaska. Set the oven temp to about 180, pop the grapes in, close the door, and let the low heat do its magic. That’s really all there is to it.
This is how the grapes looked after the first few hours:
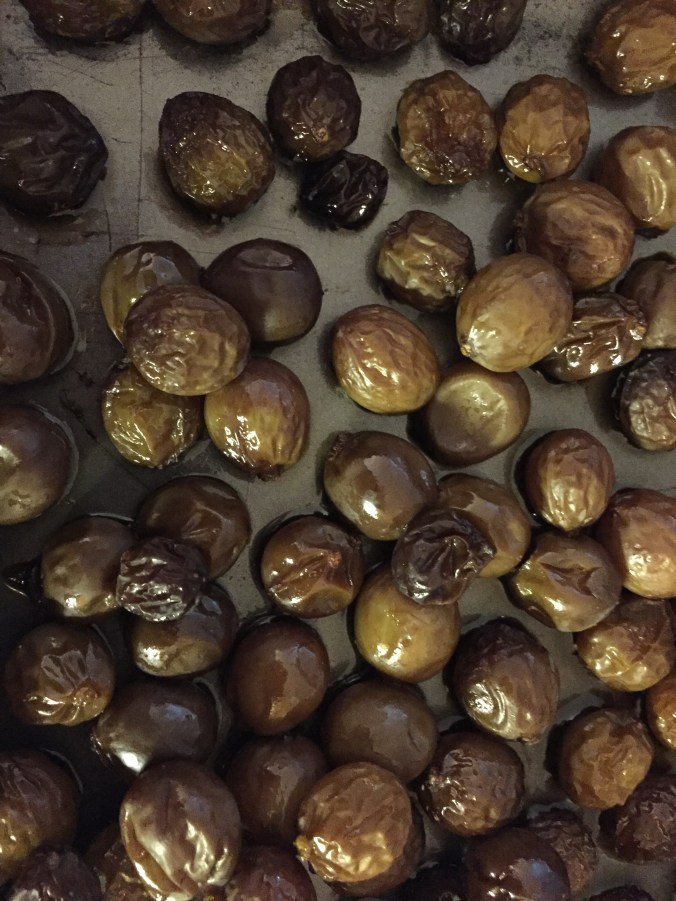
You can see they’re beginning to look raisin-y, and give up some of their juices.
I left the grapes in overnight, although the instructions said to leave them about five hours. This is what I had the next morning:
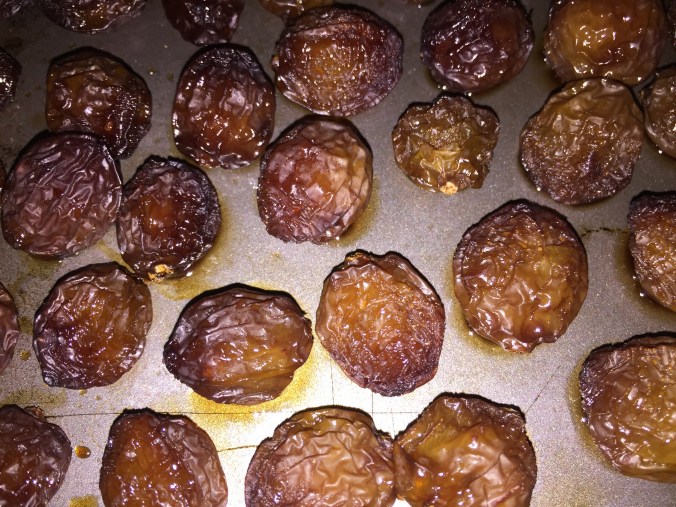
They were perfect! (Ok, the pan is not lovely…you don’t get lovely pans in clinic housing.) But the raisins were this magical reduction of grape flavor, still just slightly squishy to bite, a lot lighter than the boxed variety. I’ve always assumed that the dark raisins were from red grapes, but these were definitely not as dark as the commercial version.
I stored my freshly dried baby raisins…that is an odd description!…in the fridge, just put them in a resealable container, though I don’t store commercially made raisins in the fridge. But I thought this home version would do better staying chilled. There’s enough moisture still on the raisins I could see them moulding if stored at a room temp.
So all week I’ve been eating a few at a time as a snack. They’re so delicious, and really a handful is enough to satisfy a sweet craving. I’ve tried drying a few other things over the years, and grapes are a great addition to my drying repertoire. This is so easy, and so yummy, I think I’ll be making raisins on a regular basis.
Give it a try, and let me know what you think!
~ Sheila